C12a Assembly Guide
The C12 alternative kit is our 2nd mic kit as well as the first time a full kit, not just mechanical parts need to be mated with electronic components that are normally sourced by the customer. Over the last few years we got so many requests for a full build and play kit that now we offer one. After numerous talks about how the C12 kit should be historically correct or with minor changes/simplified, we decided on a hybrid of the classic C12 and the ease of build of the C24 and yes, a stereo head is coming soon. We offer two basic kits (main difference is the PSU as well as cabling) that will get the builder a function mic in the C12 style. Yes, we already know that there are so many different options on resistors, caps, wire, circuit variations, etc., etc. our idea is to have a simple base version that can be easily modified or upgraded without being too complicated. If you have any more specific question, please do not hesitate to shoot us an e-mail, and no, you do not bug us.
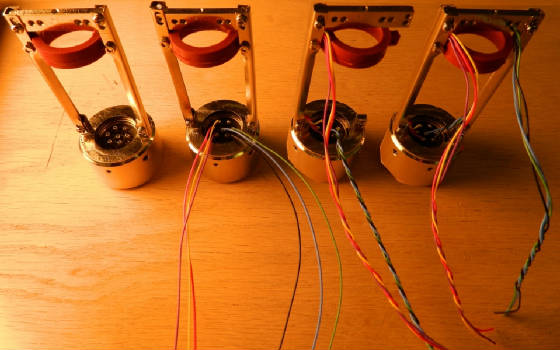
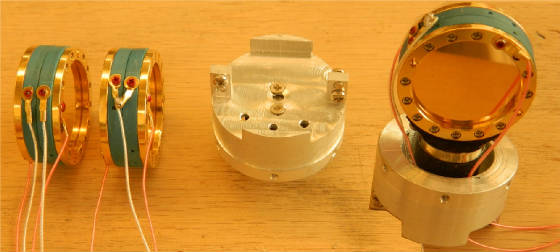
Each of our kits come with all needed parts with the exception of wire and solder, most 30 to 28 AWG copper wire in a PVC shroud will do just fine. When starting with your mic kit, begin with the bottom bell. For all needed connections, solder a 10 inch wire straight to the Binder connector. The supporting ribs of the mic also function as conduits for the wire, one side audio out and ground, the other side used for all supporting lines like filament, high tension, as well as remote polarity, pin 3 is left open so there are three wires on each side. It is quite easy to twist them with a hand drill to make it look more uniform as well as fit better within the ribs.
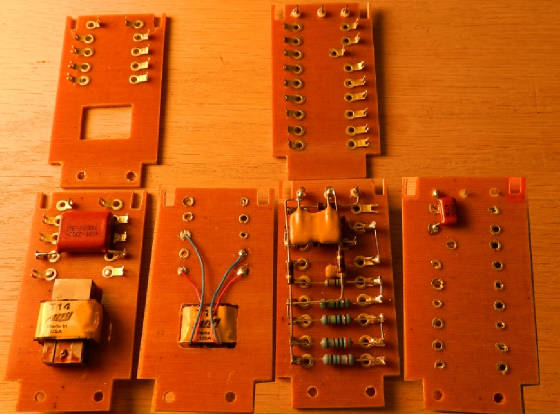
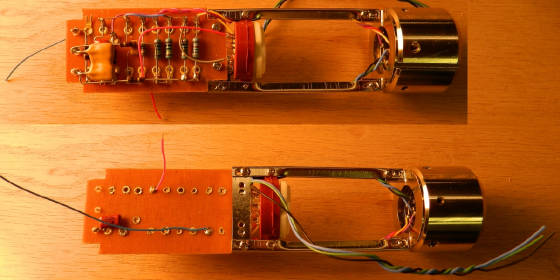
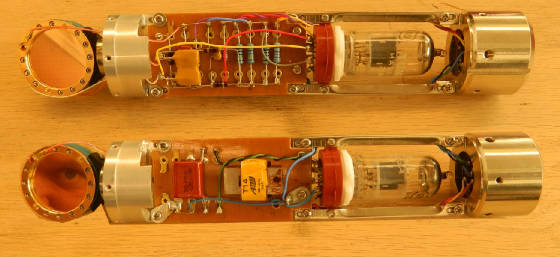
The mic is build up on two hard paper eyelet boards with a lay out for Oliver's C12 alternative circuit. For fixed bias or for automatic bias via a cathode resistor, the boards are kept simple and open, that nearly any modification is possible. On the front side all resistors are located, the plate, biasing resistors, the polarization divider plus most of the caps.Only the C2 is sandwiched in-between the hard paper boards. All capacitors should be secured with electronic glue like E6000. The very high impedance stand-offs for the microphone capsule connections are Teflon seated. The second board holds the T14 transformer as well as the DC blocking coupling capacitor. Please note that the electronic circuit is grounded via two solder lugs, one at the seat of the tube socket, the second at the top, right under the capsule cup.
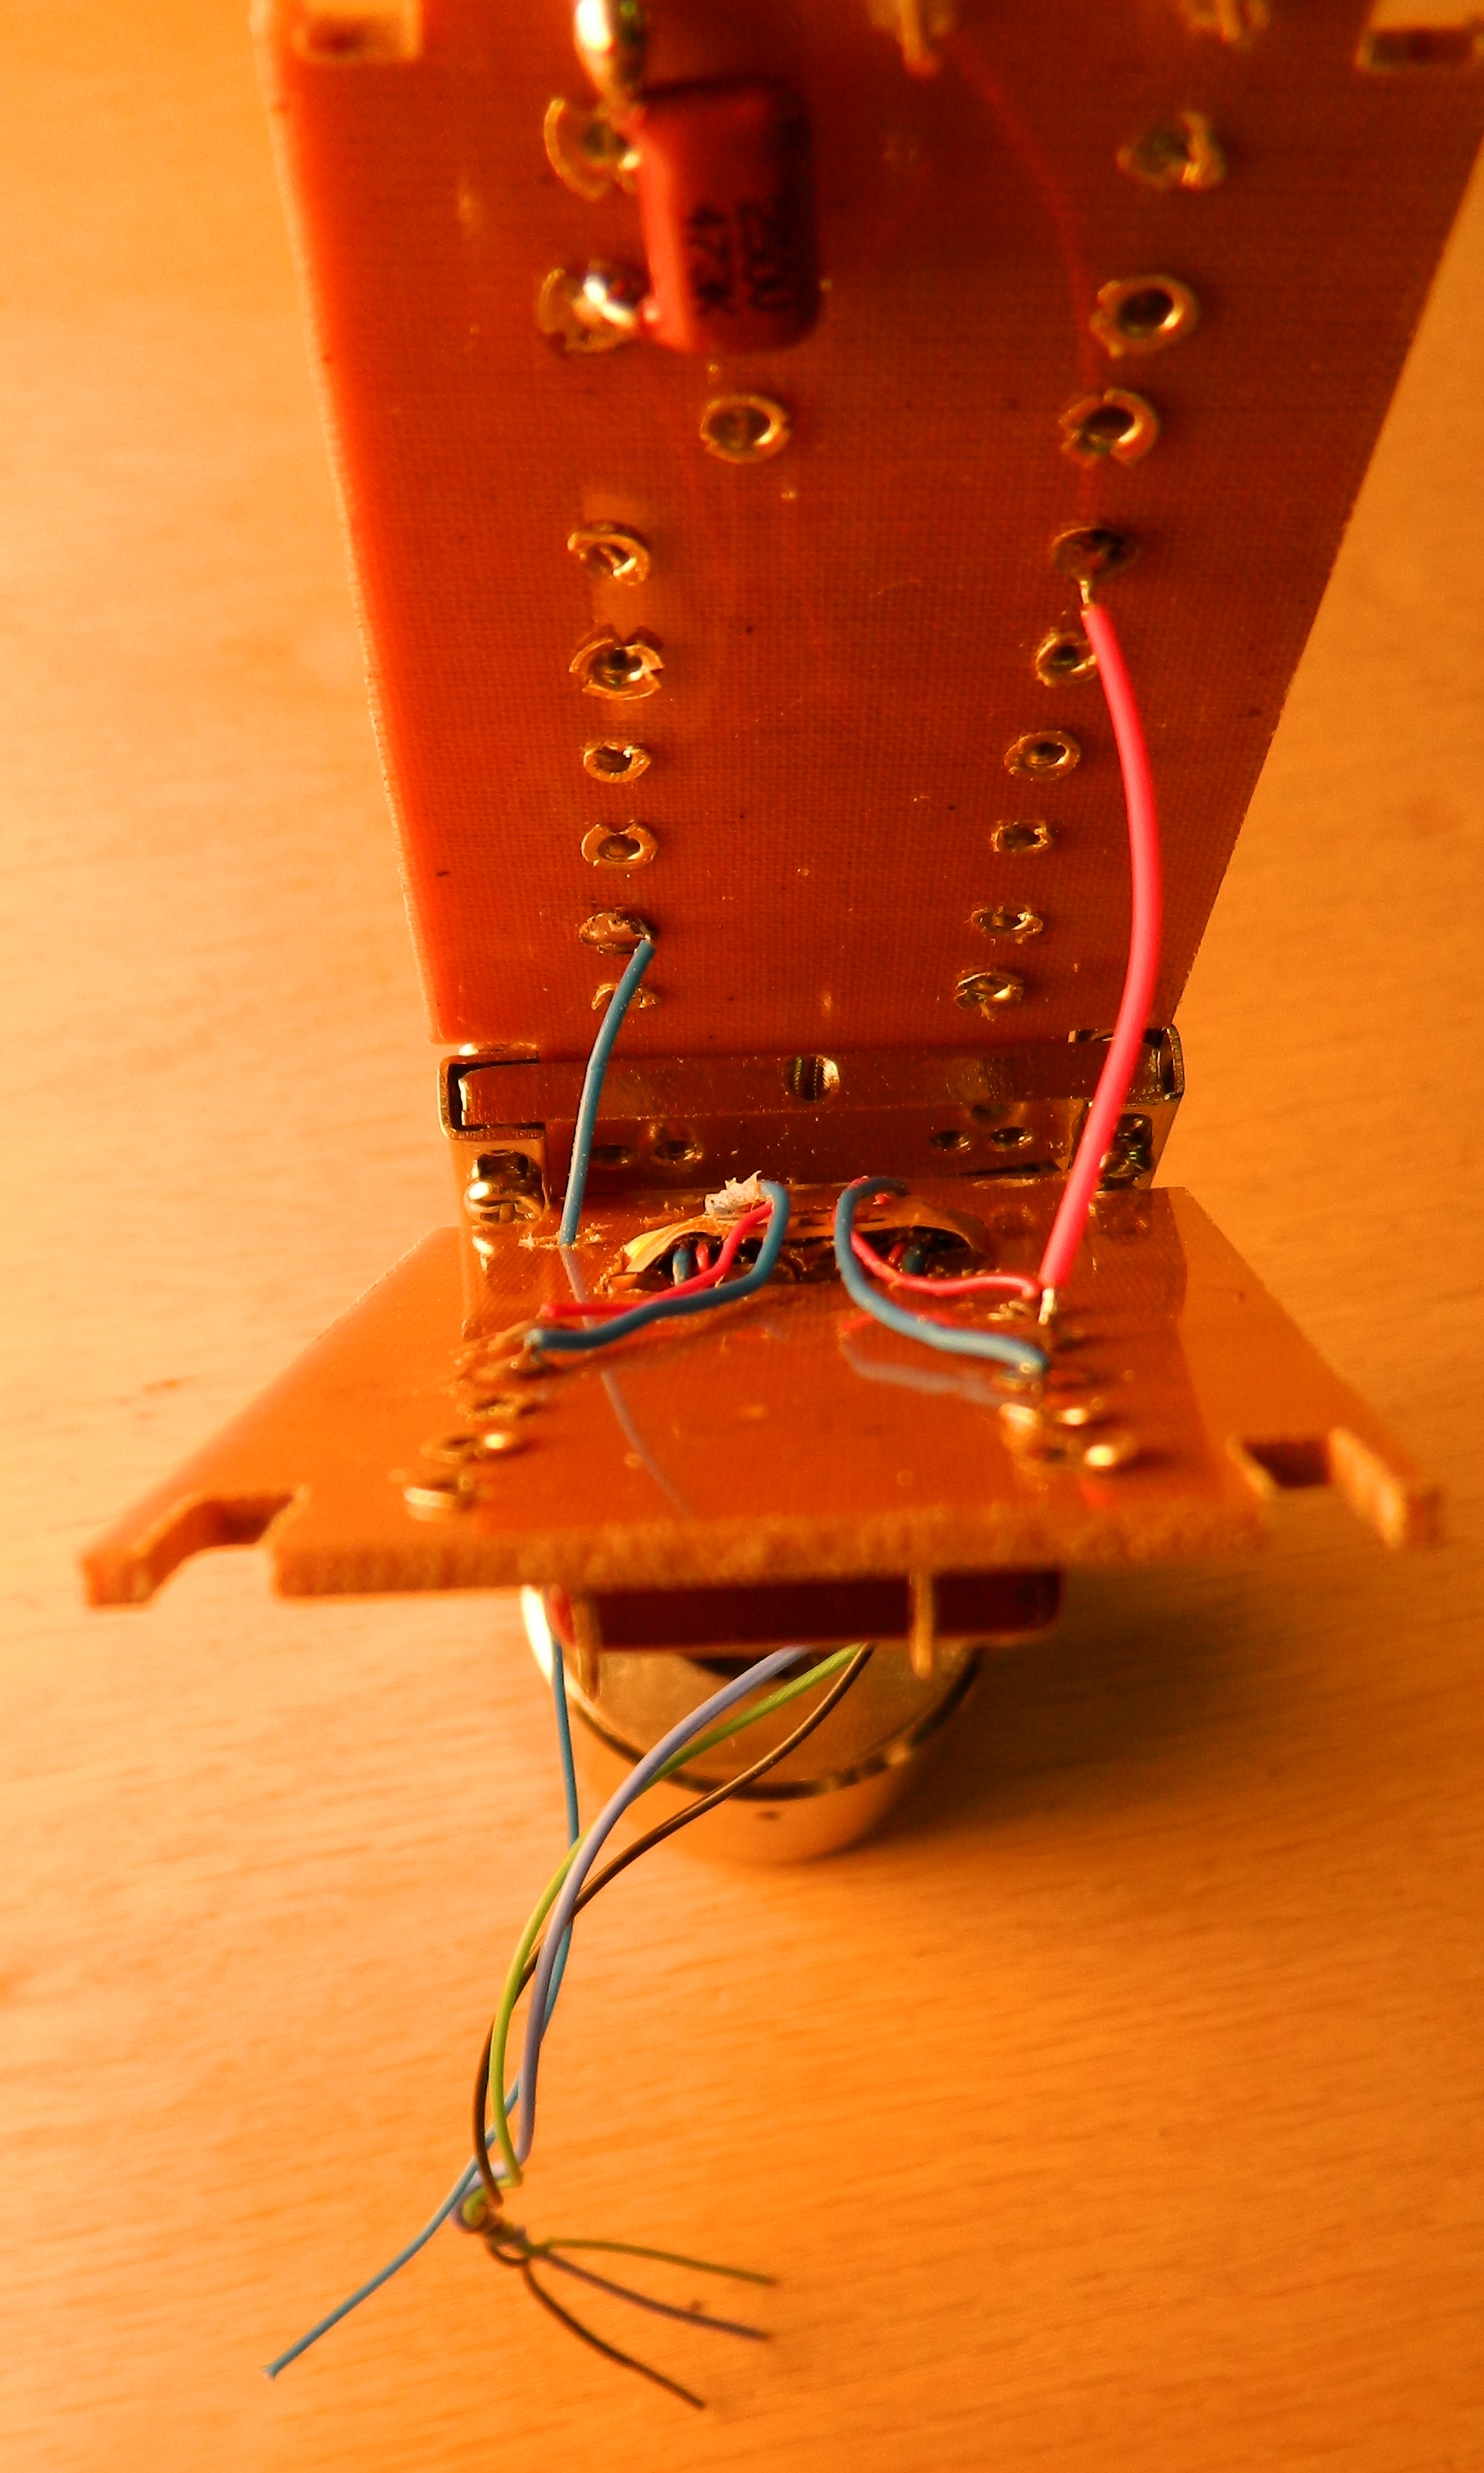
After both component boards are fully loaded and secured with E6000 (especially the T14 transformer), they are fastened to the cross beam of the support ribs. The main component board is installed first, all needed connections (from the Binder connector) are soldered. Please give some room for the wires, if too tight, they will generate microphonics. After the main component boards, the tube socket is installed into its rubber seat and is just held by the wire connections. Also the inter-board connections are soldered to the main board that will later connect the plate to coupling capacitor (C3) as well as the ground jumper.
Other than the classic T14 version, our current T14 is just 200 Ohm. Historically, the color code is blue primary and red secondary, but we also made our current one with yellow leads for primary. The two red wires are connected to the two bottom eyelets and the second row is used for the blocking cap. The remaining eyelets are left open, but can be used for different mods.
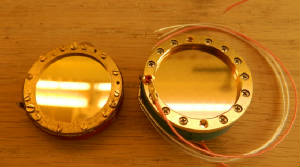
The center piece of any microphone is the capsule, and probably the hottest topic when arguing what makes a real CK12, and before diving into all those legends, it is probably easier to start with a working capsule that captures the essence of a vintage CK12 and leaves the door wide open for later upgrades, or different styles of capsules. Our C12 Alternative Kit sports a capsule cup that can be used for nearly all currently available capsules and mounts. The cup has three holes, two for Asian made mounts as well as one for our AMI capsule mounts. One of the biggest drawbacks of the vintage C12 design is that the capsule was hard mounted with virtually no shock mounting. Depending on what capsule type you will use, the through holes will need to be drilled.
Just like a vintage CK12 capsule, our CK12a is set up as a split backplate, for C12 operations both halves need to be electrically connected, done by soldering the lead-in wires together. In order to avoid any unwanted reflection or resonances, the solder cup can be stuffed with a foam or any other filling material.
After the capsule is installed and lead-in wires are properly secured with electronic glue, the head basket is installed with the three head screws. The entire capsule assembly is then attached to the two hard paper boards and connections are made. Do not forget the grounding lug of the head assembly.
After the head assembly is connected all what is needed to be done is adjust the length of the microphone inner tube via the 12 M2.5 screws: 4 on the bottom bell, 4 on the middle cross beam and 4 right under the capsule cup. The best way is to loosen them all and slide everything into the middle then move the body tubes over the inner tube and use a magic marker to set reference lines. After the best set up is found, all 12 screws need to be secured. The body tube is held by the 3 M4 set-screws in the bottom bell.

